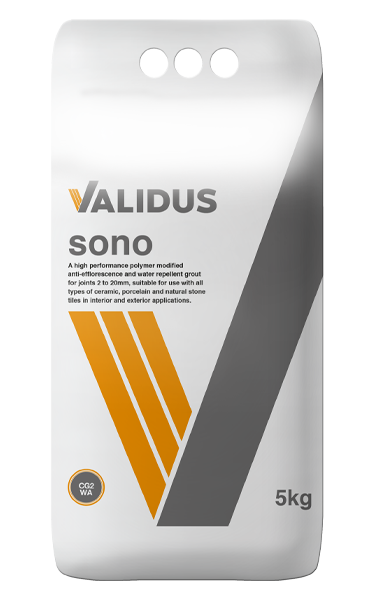
Product Preparation
Mix a quantity that you can use comfortably within the products pot life (As a guide 20-25 minutes at 23°C and 50% RH). Product that has begun to set must be discarded.
Mix Validus Sono with clean water manually or with a mixer at low speed (400 rev/min) until you achieve grout of a smooth and lump-free homogeneous consistency.
As a guide for powder to water ratio 5kg of Validus Sono requires approximately between 1.15-1.35 litres of water.
Adding extra water does not improve the workability and the cleanability of the grout, and may cause shrinkage in the plastic phase of drying and result in less effective final performance. Prepare all mixtures required to complete the process using the same amount of water, to avoid any variations in grout shade.
Allow the product to stand for about 2 minutes, then remix. The grout is now ready for use and must be used within 20-25 minutes.
Validus Sono should be applied evenly on the tile covering using a rubber trowel, spreader or float. Grout material must completely fill joints. Application in a diagonal movement across the joints will achieve the best results. Remove most of the excess grout immediately, ensuring nothing more than a thin film is residual on the tile.
Once the grout has dried for approximately 20 to 30 minutes, and once it has turned matte in colour, clean the surface to remove any excess and finish the grout using a damp grout cleaning sponge. Use circular movements, taking care not to damage the joints. Clean the sponge frequently with clean water, always using a uniform quantity of water to avoid colour changes. Finish up by dragging the sponge diagonally across the tiles while applying water evenly over the tiles.
When the grout is hard enough in the joint, the tiled surface can be polished using a clean and dry cloth.
In ideal conditions grouted areas can accept light foot traffic after three hours. This time can vary depending on temperature and site conditions. The area can be returned to full service within 24 hours, or in 48 hours where the product has been used in swimming pools and water storage tanks.
Notes and Recommendations:
Do not apply under 5ºC or above 30ºC
Do not apply during periods of rain, extreme wind or direct sun
Do not apply on substrates that suffer from rising damp.
In case of highly absorbent tiles or high temperatures, moisten the joints before filling using clean water
Do not clean the joints with any type of acid as it will affect the colour
Do not mix with any other plasters or hydraulic agglomerates
Do not clean with excessive amount of water, or while the product is still fresh, to avoid carbonation and discolouration of the surface due to pigment dispersion
Coverage:
Consumption according to dimensions (kg/m²) Valid values for 6mm thickness pieces.
Tile Format | Joint Width |
2 mm | 5 mm | 10 mm | 15 mm | 20 mm |
2 x 2 cm | 1.3 (Calculation done for a separation between tiles of 4 mm) |
15 x 15 cm | 0.27 | 0.68 | 1.36 | 2.04 | 2.72 |
15 x 20 cm | 0.24 | 0.60 | 1.19 | 1.79 | 2.40 |
20 x 20 cm | 0.20 | 0.51 | 1.02 | 1.63 | 2.05 |
25 x 33 cm | 0.14 | 0.36 | 0.72 | 1.08 | 1.45 |
30 x 40 cm | 0.12 | 0.30 | 0.60 | 0.89 | 1.20 |
40 x 60 cm | 0.09 | 0.21 | 0.43 | 0.64 | 0.85 |
45 x 80 cm | 0.07 | 0.18 | 0.35 | 0.53 | 0.70 |
((A+B)/AxB) x C x D x 0.17 = Kg/m²
Where:
A: Width of the tile (cm)
B: Length of the tile (cm)
C: Thickness of the (cm)
D: Width of the joint (cm)
Storage:
The product must be stored in unopened and sealed, in its original packaging in a cool, dry place.
Shelf Life:
Approximately 12 months from the manufacture date, printed on the side of the packaging.
If you are unsure with any of our instructions, please consult our Technical Department on 0870 9090 001.
This information is given voluntarily and in good faith. It is to the best of our knowledge true and accurate; however, it may contain information which is inappropriate under certain conditions of use. The company cannot accept responsibility for any loss or damage due to inappropriate use or the possibility of variations of working conditions and of workmanship outside our control.

